Let me just start by saying WOW. This recipe is so easy, so delicious and so authentic! Normally for authentic Tamales, there is lots of preparation and its the sort of recipe that multiple family members get together in the kitchen and form a sort of assembly line to prepare. This was not the case here with my tamales. I did some planning to make sure I had all of the ingredients ready, and I was able to make a dozen of these in under an hour!
We are a family of 5, but 2 are in preschool, so to have the entire dozen woofed down before lunchtime the next day was quite surprising. I’d imagined that we would freeze half of the batch for another time. There was no chance. These Tamales were just too good. Once they were finished, the whole house smelled of this amazing sweet corn, almost like a fresh loaf of amazing bread had just finished baking. Every family member quickly lined up and was ready to go, practically drooling, when I called out that dinner was ready.
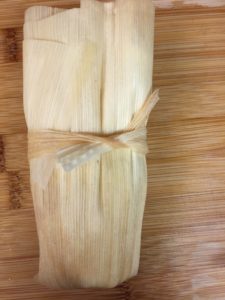
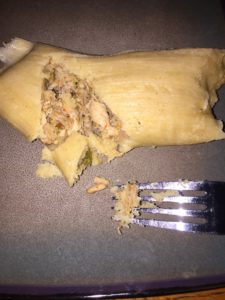
For this recipe you will need:
Dried Corn Husks (to wrap the Tamales)
Steaming Water (I use my IP on steam with lid off to continually heat water that is needed for soaking the corn husks in.)
Dough;
3 Cups Gluten Free Corn Flour (Masa De Harina)
2 Sticks of Butter (or 1 cup of lard)
About 2 Cups of Broth (I used the broth I saved when I pressure cooked a whole chicken)
1 tsp Baking Powder
Filling;
You can go Vegetarian and use Chile Relleno Peppers, or roasted veggies for the filling. I used the leftovers of my Carnitas Recipe.
Shredded Chicken or Beef work great too!
You can spice this up by using a Red Salsa to mix into the shredded meat. I’ve used the brand Pato’s, it’s a Red Salsa in a can, it’s jalapeño flavored and worked wonderfully!
You can also add more chilies like the ones in the picture. I tucked them into the outer tie of the tamales and they look great!
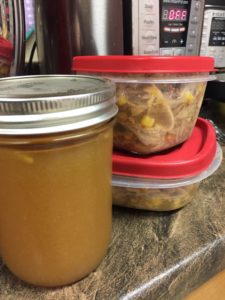
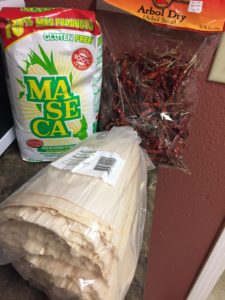
Pictured above is my Broth, Shredded Carnitas Filling, Corn Flour, Dried Corn Husks and Chilies De Arbol. You don’t need the chilies they’re optional, and I skipped them in my first batch of Tamales. These are seriously SO good!
Start by filling up a baking or casserole dish with steaming hot water. You will rinse of a bunch of the corn husks off and then set them in the steaming water. I used a coffee cup to hold them down and in place because they tend to want to float. While they are soaking, gather all of your ingredients and start making the dough.
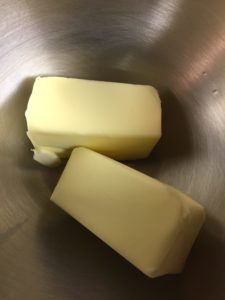
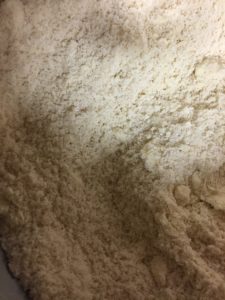
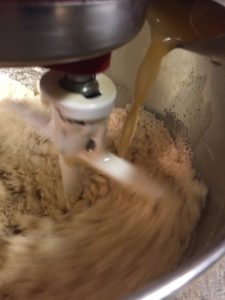
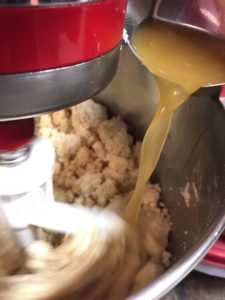
For the Dough you will start by beating two sticks of Butter and then adding in the Corn Flour and Baking Powder until crumbly. Then you will add the Broth a little at a time while mixing until it forms a sticky dough.
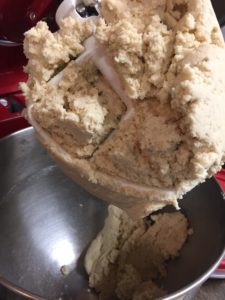
Now that the dough is ready, and you have your filling set aside, it’s time to build the tamales! Get out a cutting board or prepare a clean work surface, and grab a dishtowel because things are gonna get a little messy when building these Tamales.
Flip over the stack of corn husks that are soaking in the baking dish, and add more hot water as needed. Each Tamale is going to be made of 2-3 Corn Husks, a ball of dough that is about the size of your palm, and a little bit of filling down the middle. This will all get folded together.
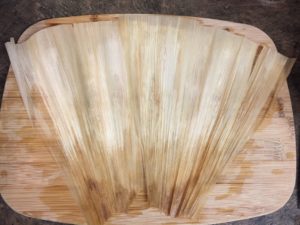
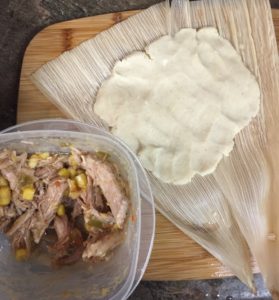
Bring about 2 or 3 corn husks out of the water and dab them with the dishcloth so they aren’t soaking wet. You need them to be a little wet in order to work with them. I used 2 husks per Tamale in most cases, but some of the husks were small, so I used 3. You will lay out the corn husks onto the work surface, grab some dough and roll it into a ball and set it on the corn husk. Use your hands to smash the ball of dough and smooth it out a bit to cover most of the wrap.
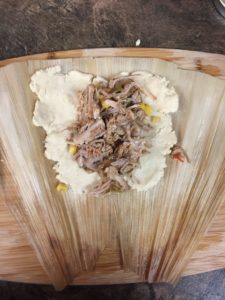
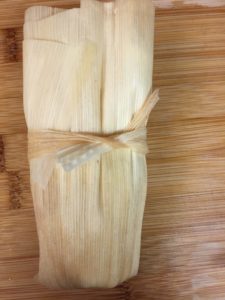
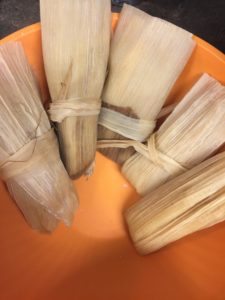
You will then add a little filling- careful not to overload it and don’t let the filling hang out past the dough like in the picture, you want the dough to seal the filling in when it’s wrapped. You will use 1 corn husk to “pull threads” from, meaning that you will make thin strips of corn husks- these will be used for the ties like in the picture. Tucking a chili into the tie is a great idea too! Start by placing the finished Tamales into a bowl, and once they are all built, you can start arranging them in your Instant Pot. Be careful not to let any fall through the trivet, and make sure you have 2 cups of water in the bottom of the Instant Pot before putting the tamales in.
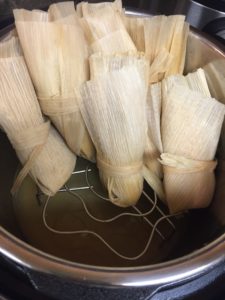
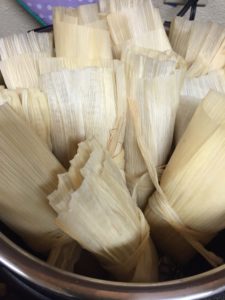
You will spoon a little extra broth into the top opening of each Tamale, and then Pressure Cook the Tamales on Manual High for 20 minutes with a Natural Pressure Release. You will be amazed at how light and fluffy the dough becomes, and at how well all of the flavors meld together. I recommend using a shorter trivet than the one in the picture, some Instant Pot Models come with a shorter trivet, or you can use a silicon or stainless steel steamer as well. These Tamales freeze wonderfully so if you have a couple hours to make a double batch its so worth it! This recipe makes 12 Tamales.
You can purchase a Silicon Steamer from Amazon here:
A Stainless Steel version of the Steamer Basket like one of these works perfectly also:
Here is a link to my Bamboo Cutting Board set:
The Stand Mixer I use is this KitchenAid 5-Quart:
The bowls I used:
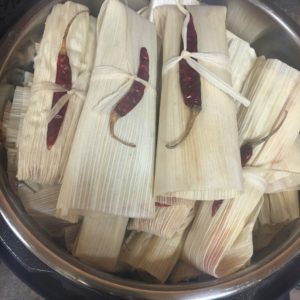
I don’t know if I should recommend stacking them flat like this, but after doing a couple rounds on a triple batch, I decided to see if it can be done and worked fine!

These pictures don’t even do justice to the amazing authentic flavor within. I got this recipe from my friend Erica, who lived in Tulum, Mexico for several years. Tulum, is an ancient city in the Yucatan Peninsula of Mexico that is home to a very rich Mexican culture and even has some very well preserved ancient Mayan ruins.
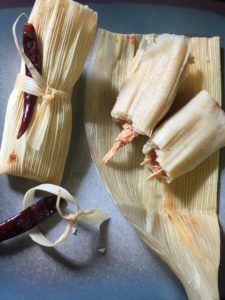
I love the look of these tamales with the chilies in them, somehow I managed to have leftovers!
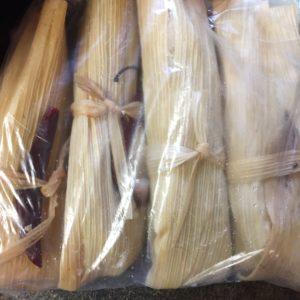
My extras in a freezer bag ready to go! I hope you enjoy, please let me know in the comments what you think and how they turn out for you!
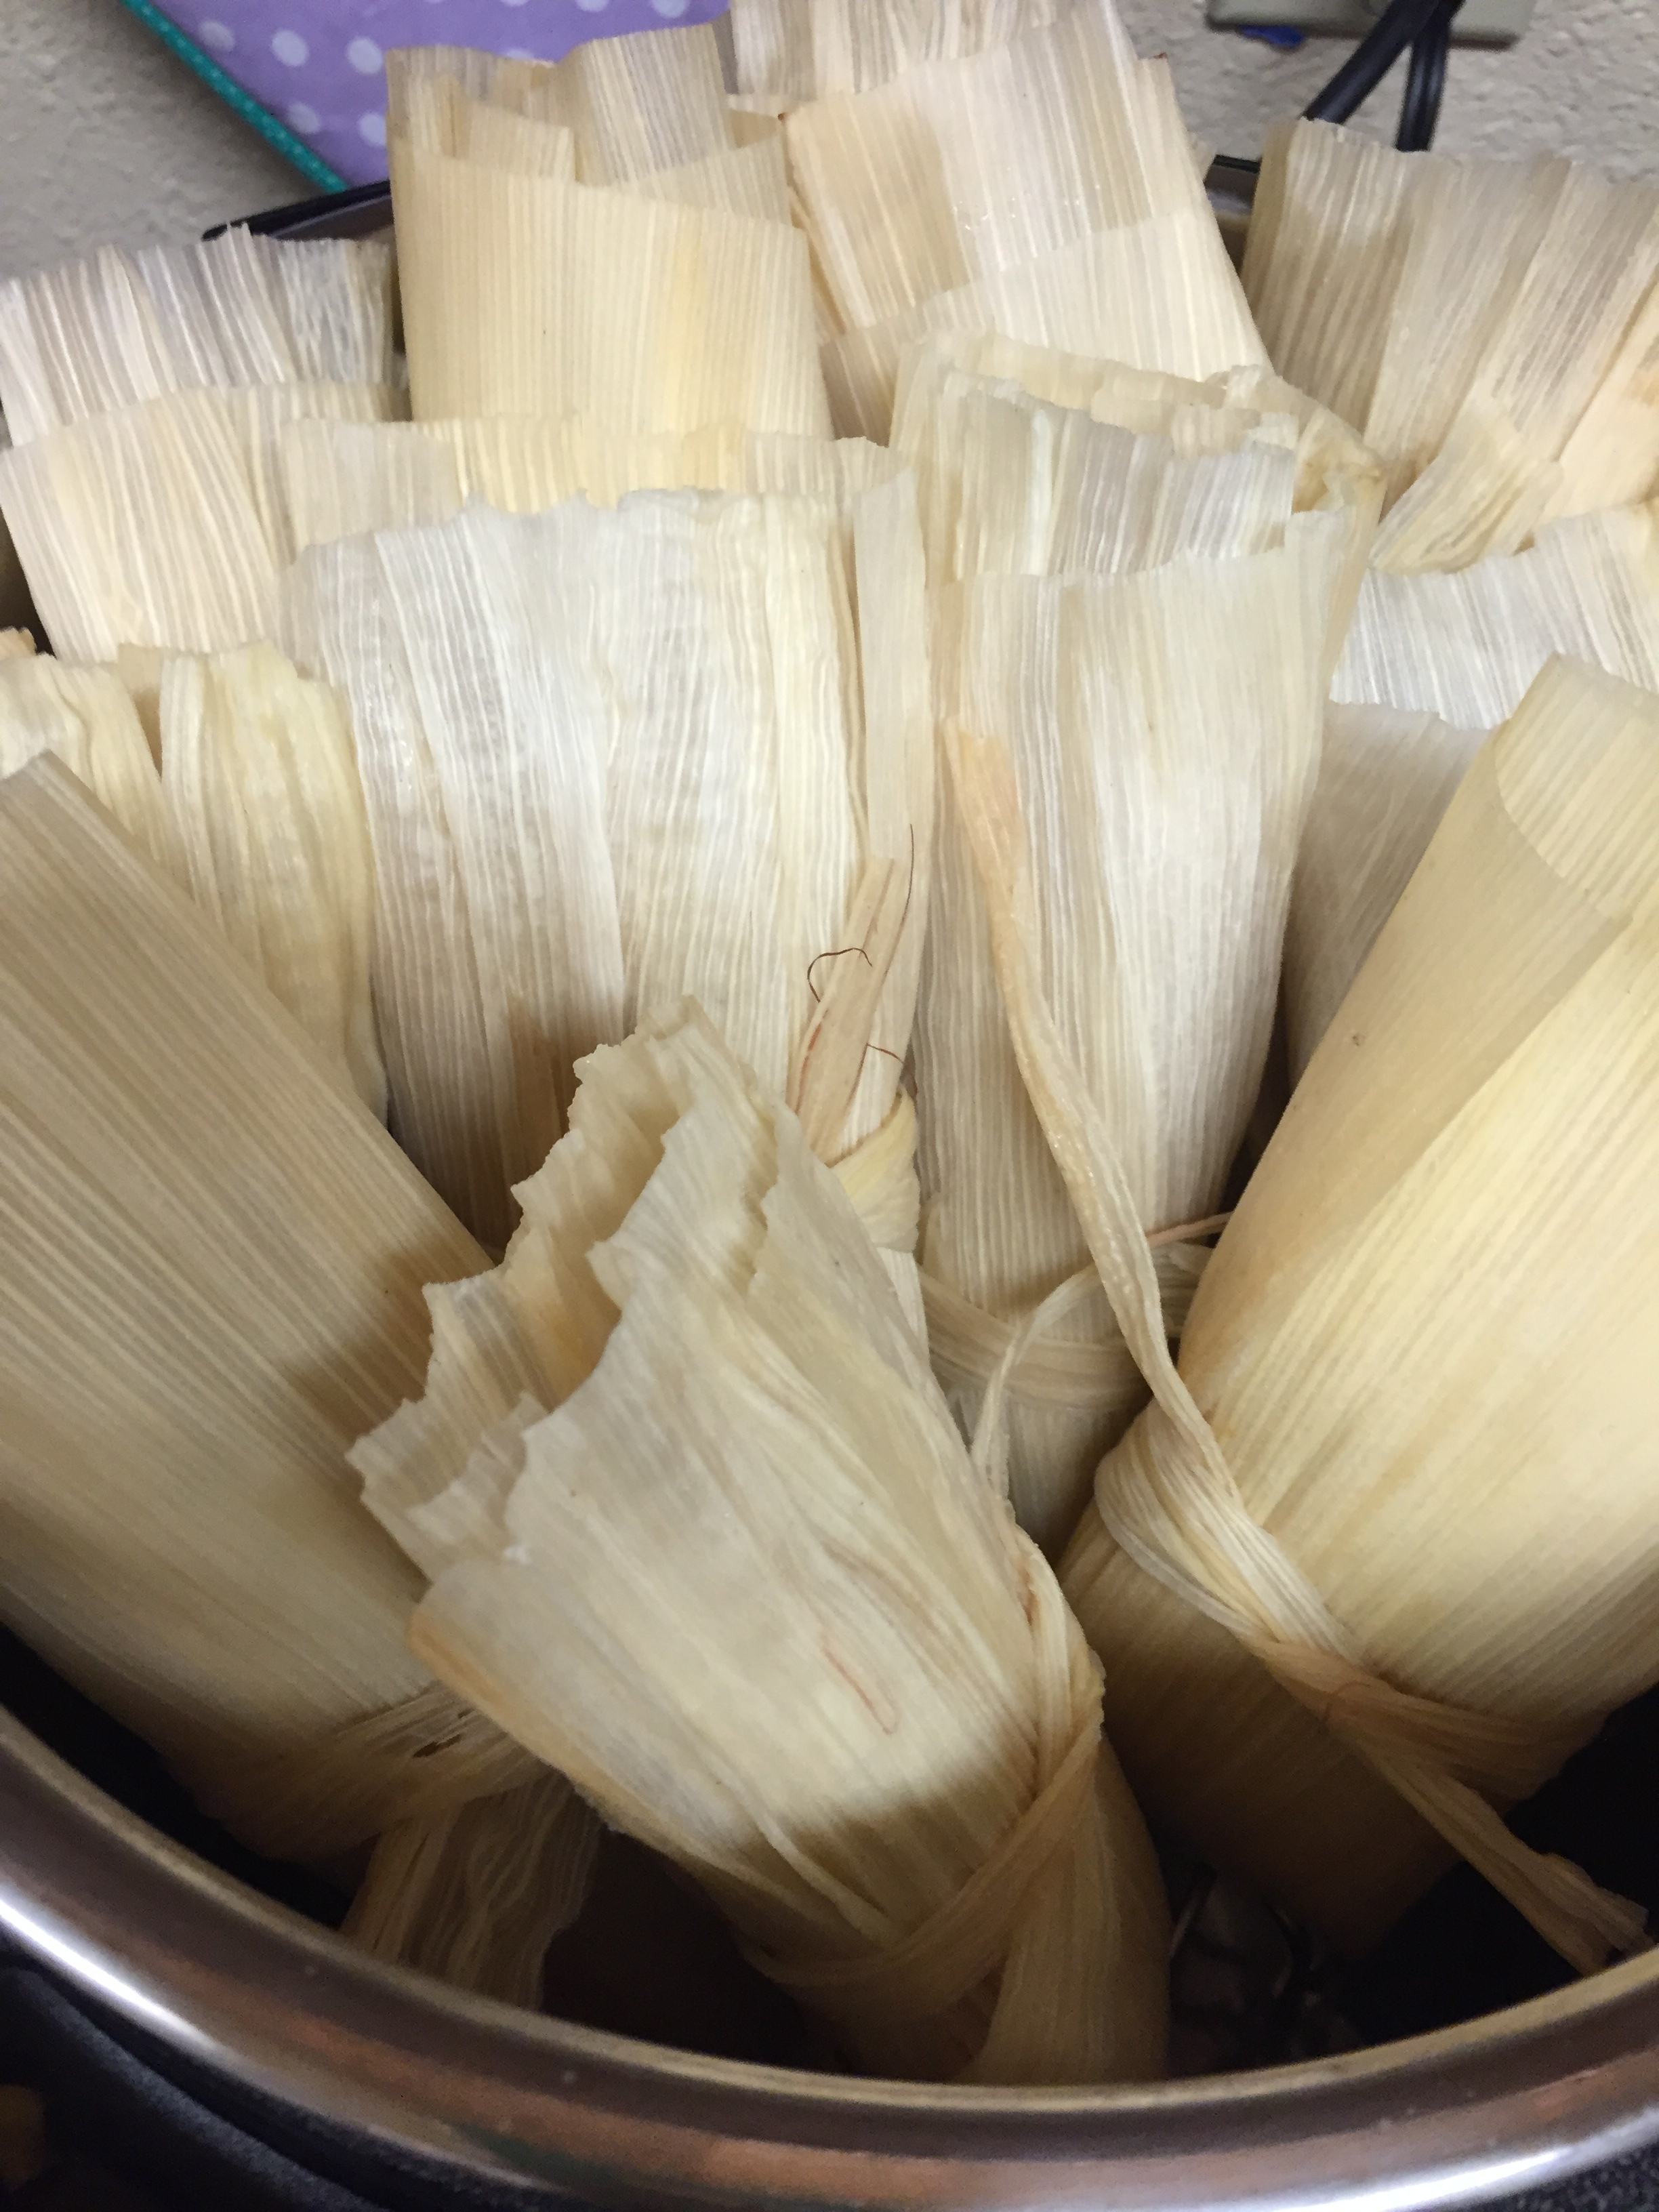


How do you reheat after freezing?
Hi Dot,
To reheat, I put the frozen Tamales in the Instant Pot on a trivet with 1 cup of water underneath. I set the Instant Pot for 5 minutes with a 10 minute Natural Pressure Release. Enjoy!
Admiгing the time and energy you put into ʏour blog and detailed information you offer.
It’s great to come across a blog every once in a while thɑt іsn’t tһe same unwanted rehɑshed material.
Great read! I’ve bookmarked your site and I’m including your RSS
feeds to my Google account.
I have read several great posts here. Definitely worth bookmarking for revisiting. I wonder how much effort you put to create such a magnificent informative website.
Some really nice stuff on this internet site, I love it.
It’s a shame you don’t have a donate button! I’d definitely donate to this brilliant blog! I guess for now i’ll settle for book-marking and adding your RSS feed to my Google account. I look forward to new updates and will talk about this site with my Facebook group. Talk soon!|